Showing posts with label crafts. Show all posts

Thursday, October 31, 2013

Does this still count...? :) WOYWW #230

So, it's not actually Wednesday anymore but I'ma still link up for the What's on your workdesk Wednesday, hostessed by the oober fab Julia over at Stamping Grounds. This week I have been making something very special for someone amazingly special...I feel privileged to have been able to do this for her and she knows who she is! :) It is not yet complete but these are the pics I got for now for you! Enjoy...:)
That's how the book started...and the beginning of the mess, as well...
This next piece is the spine piece with all the laces and ribbons sewn on...
Rough idea of finished piece, back cover on left...it's really just more mess...
Getting closer to the final product...and I tidied...the buttons! lol
Bonus shot, cause I know you knew there was a giant pile of stuff shoved off to the left! :)
Will finish this and deliver it tomorrow...hope everyone is having a wonderful week and have a great weekend, too! :)

Wednesday, June 19, 2013

WOYWW #211 and arrived ATC's! (Brief Tuturial also!)

Thanks, as always, to the hostess with the mostest Julia Dunnit over at Stamping Ground for hostessing this blog hop/linky party where the curious can peek in at craft spaces from around the world. Here is mine:
Card making in progress...see my new tiny little flower dies(and the made flowers are there in yellow sitting on the card front) from Impression Obsession? Cute and cheap! You should check them out, they've got loads of cute dies and stamps, very affordable with free shipping for orders over $30, at least in the U.S., but I'm not sponsored by them or anything. :) And here are the gorgeous and fabulous ATC's that have arrived! I owe personal emails to all these ladies and am begging their forgiveness right here and right now for being so lax on the thank you's...I've fallen dreadfully behind on all computer related stuff as I'm seriously avoiding my computer chair and the pinch its putting on my back and nerves and sending me to the chiropractor(not cheap!), you see. Anyways, here they are:
The top 3 are from Ros C and the picture doesn't do them justice! The one on the card just shimmers from every direction...I tell you I sat mesmerized for 5 minutes just looking and turning and staring at it! lol But wow is she talented! The next 3 gorgeous pieces are also from some very talented ladies, from (left to right) Buttons, Ria Gall, and Hetti:
Here is my brief tutorial...How to make your own Washi Tape! This was made from a beautiful tissue paper I found at the Dollar Tree, so the cost is like $.05 for these 3 strips, each 20" long.
As you can see all I did was carefully lined up/laid down double-sided tape, using the edge of the tissue paper to make my lines straight on the first row.Then I moved over only enough so that the tape wouldn't overlap the first row and my scissors would have some room to cut and laid down another row. I repeated that step one more time for a third row then following the edge of my tape I cut the three joined rows off the rest of the tissue paper. Then I cut between the tape sections to get three strips. Here is the back, see how I left the backing of the double-sided tape on? I've even used it already but I can't show on what because its going to someone who might read this blog. :)
Finally here is an anniversary card I've made, using one of my new stamps from Impression Obsession...an all over the page toile scene! I love toile so much! And for a huge stamp it was very reasonably priced. This is a full sized card!
Well, this has been a bit too much time at the computer for me so I must get up and move the back muscles some! Thanks for stopping by and hope everyone is having a wonderful wonderful week! :)

Wednesday, June 12, 2013

WOYWW #210 and a brief tutorial...make swinging cards with the dies you already have!

First I must thank Julia over at Stamping Ground for hostessing this super fun blog hop where you get to peek in at other crafters workdesks, all over the world! Follow the link to see and learn more. So, here is my desk this week:
If you already know all about making swinging panel types of cards you may want to skip the next bit.
I saw a tutorial on YouTube about making swinging panel cards with any Spellbinders/dies and your Cuttlebug, which I don't have. But I do have a BigShot so I figured a way to make her idea work for my machine, with some adjustments, of course. :) I have the edge cutting pieces from BigShot, you know the ones about 2" wide and 12" long? The clear thing in the picture below. So I scored my paper in half then one side got scored in half again, which is where my swinging panel would go. I placed my die in the center of the panel and in the center of the 2nd score mark, taped it down so it would wiggle and then placed my full size shim under the whole card and my 2" wide shim on the side of the die I wanted cut, right up to the fold/2nd score mark. Here is the result, with the die used and a smaller die cut piece of a solid blue already taped down:  
This is a mini version, made with 6" double-sided paper and on the right of the picture you can see the full size card I am working on. Its more difficult as I didn't cut it from double-sided paper but I do have lots of options for mixing papers...still I think if I make many more of these I will just use double-sided paper from the get go, much simpler and easier. So if you didn't know any of that I hope you can use the info and make a new type of interesting and fun card. :)
Hope everyone is doing very well and enjoying the day or night, whichever it may be!
P.S. I have received a few fabulous ATC's and am planning a special post on them next week, when hopefully the ones I sent will also have been received...but we shall see! lol  :)

Thursday, May 23, 2013

WOYWW #207 Flashback!

Well, I don't know what you would call it when you actually don't get your post up on the day you are supposed to except to perhaps call it a flashback, right? :) Also going with the better late than never theory. lol  So, without any further ado, my desk, which I am showing to you courtesy of the ever fabulous Julia Dunnit via Stamping Ground:
And a close-up, just because. :)
And then, a brief, but mostly focused, 30 minutes later:
All that's left is to find someplace to store all the flowers I've been crocheting while on "bedrest". What do you think of my first attempt at crocheted cherries with stems and leaves? This card isn't finished, of course, but this is where I'm thinking to take it...

The top one was for my oldest nephew who graduated from highschool this year and the bottom one was for my youngest brother who graduated by receiving his highschool diploma equivalent from a Vo-tech. I used mini-envelopes inside the top one for family to write notes on and put money in. The robe on the bottom one I made envelope style so we could slip money in and it just stuck out in the area at top of the collar. :)
You would think with class out finally that I would have more time but I've had an inflamed gall bladder and a chest wall infection/inflammation for the last week and a half, plus two very big graduations in my family, to contend with. And a special trip to the ER, of course. Can't forget that! It's truly amazing how much one little organ can hurt and the amount of pain it can put you in. Hope everyone else is having a wonderful week!

Wednesday, April 24, 2013

WOYWW #203 and S'Pin Cushions!

Hello lovely and creative peep's who've popped over from the Stamping Ground linky party! And everyone else, too, of course. ;) Thanks, as always, to the ever fabulous Julia over at Stamping Ground for hostessing this snoop. So, you're here to look at my desk and maybe a few projects? Well, here you are:
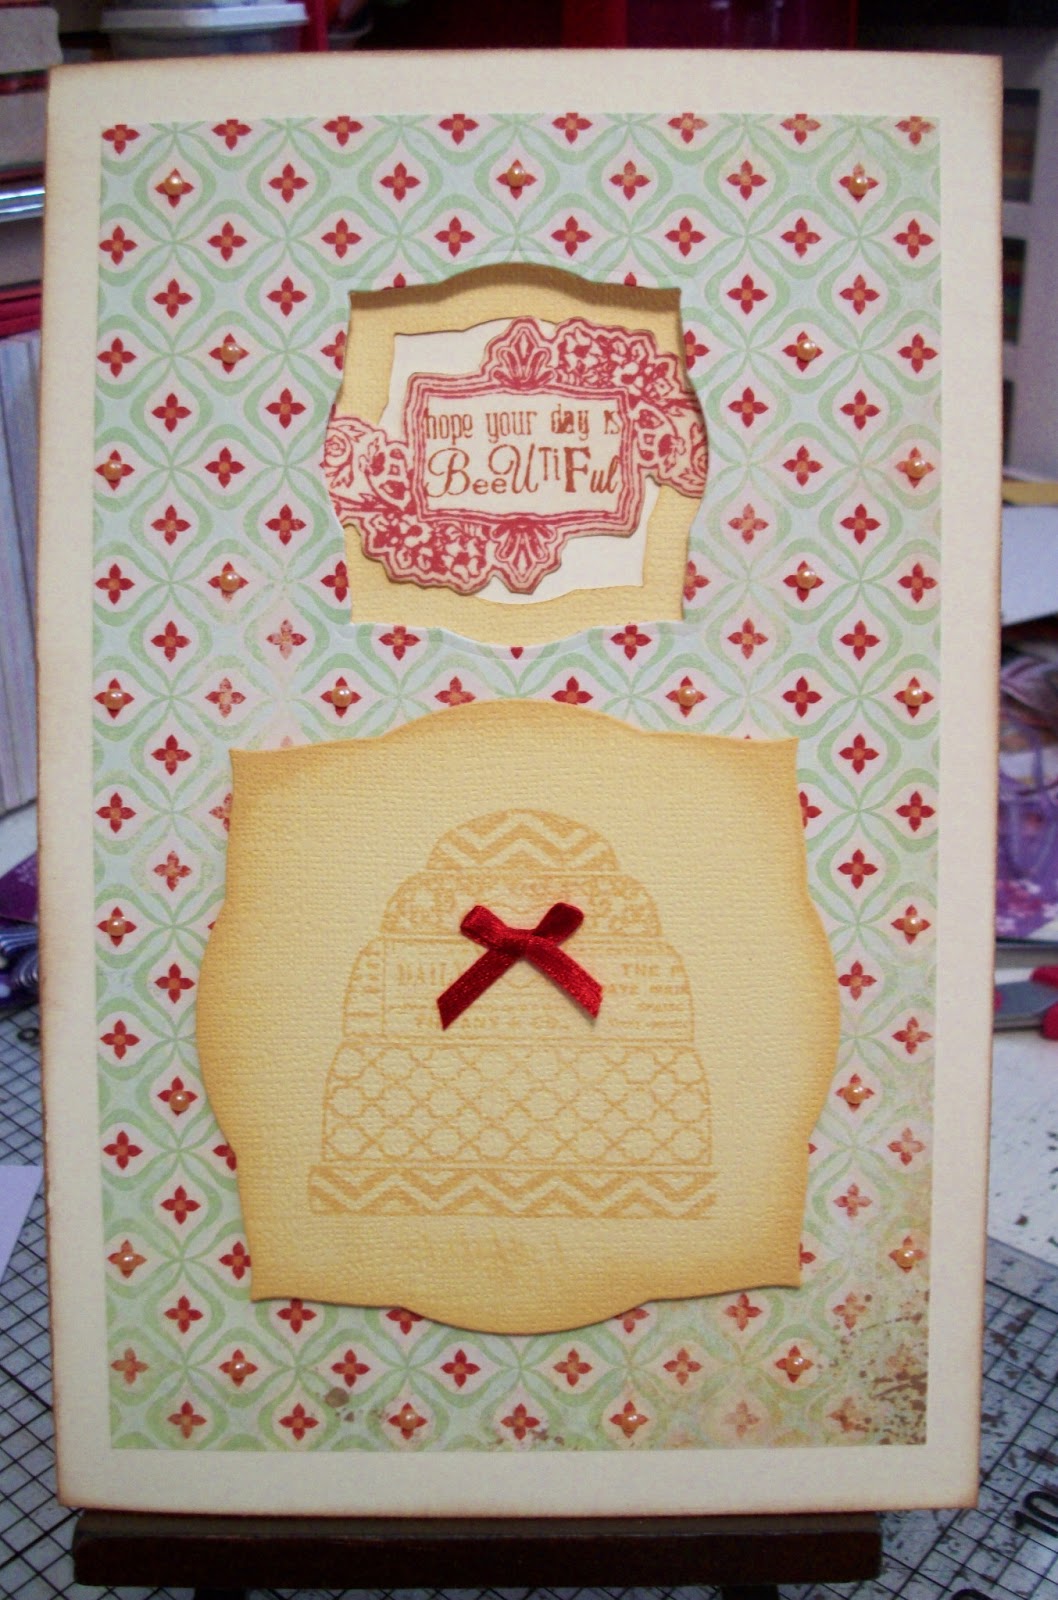
Ain't she a beaut? :) I am so tickled pink! Finally one of my paper pads of Prima's new Divine line came in! And I promptly sat down and made like 12 cards with it! Well, they aren't finished at all yet, but they are all started. Here is a pic of some of my washi tapes, too...
They have expanded from one yellow bin to 3 now! :0 But they are so fun and easy to use! :)
There are 3 of the Divine Prima card bases I made, and the next is just a close-up shot of one of those.
I plan to put on more embellishments and some bakers twine in a super soft pink color and probably some bling or glitter or both! lol Another close-up: 
I just love the papers in this line and I got the coordinating stamp set, too. Well, I *had* to, don'tcha know? The smaller images(like of the Victorian lady standing, pink strip, red chevron, etc.) are ATC bases from Paper Studio, just in at your local Hobby Lobby and on sale this week. You're welcome. ;)
Next are some fabric choices...
For what, you ask? For my new S'Pin Cushion creations! It's a pin cushion that you can spin the top off of...why would you do that? Because you can store your extra pins in the jar below, just super handy for when you need them. :)


Those are the 3 I mocked up the other day. I'm really pleased with them and how handy it will be to have all my extra pins so nearby, instead of in a drawer or box elsewhere, and so prettily displayed, too. Thinking of selling them, too. Anyone have any input or comments?
Well, I better get on with this and post it and link it and get to seeing some desks! Hope everyone is having a wonderful, creative and fantastic week. :)

Wednesday, March 20, 2013

WOYWW #198

Not much up this week, been busy cleaning. :) I did want to join in the fun over at the Stamping Ground, which thanks to the hostess with the mostest, a.k.a. Julia Dunnit, it is What's on your workdesk, Wednesday, again. I have been playing with some new dies and coordinating stamps, though, and finished a few cards so here is my desk and the cards:
You can't really tell but the brownish area is actually more gold than brown, but like an antique gold. The card laying down on the job isn't quite finished yet...I got tired and laid down on the job, too! :)
Chicken wire embossing folder! Love it! And Crafty Secrets farm stamp set...there is supposed to be a cow's head where the girl is standing but I needed something for her to appear to be looking at so I just colored in the area's of the stamp I wanted and wahlah! A view!
 This next one looks rather plain, but that's just my horrible photography! :)
See? It actually has mini pearls all over it, so pretty!
And this whole grand display has been brought to you today by the letter R. :)
Have a lovely week!

Wednesday, March 13, 2013

WOYWW #197 with mostly unfinished cards.

Hello lovely people! It's Wednesday again and time for What's on your workdesk! Find out all about it from the fabulous Julia at Stamping Ground. Here is my desk shot:
Do you spy new toys? :) Got the Clocks and Homespun dies on Ebay, I believe, for great prices and some others, not shown. I love Ebay! At the right times, of course. ;) I finally got the hexagon dies, that I have wanted for like forever, and a stamp set, but I got them at Artfire(great supplies/prices). I've already made several card bases with them! And I was going to show them to you, but finished cards are prettier so I'll wait. Here is one finished(I think?) card, though:
It will probably just be a hello or cheer up kind of card. Made it with Spellbinders dies and Paper Studio punches...speaking of Paper Studio, if you are near a Hobby Lobby they are getting in the new Spring/Summer stuff and WOW! Some super cute stuff in the embellishment line for sure and, over in the jewelry/bead department, they have a gorgeous new line already out, called Poetic something. Pretty! Next is a picture of the baggies I used in dying the flowers and ribbon last week. I saved the bags as they still had dye in them and just labeled them with a sharpie. They are sitting in my Sculpey baking pan, which I put inside a baking bag, when baking Sculpey, so I don't have to dedicate an oven to baking Sculpey. ;)
And that's all for now! Hopefully I'll get some cards finished and posted later this week, but I wouldn't bet on it since I have a big exam this week. And lots of housecleaning to do! :)

Wednesday, March 6, 2013

WOYWW #196 and so much color!

I've some lovely colorful pics to share today and, of course, the one of my desk...why my desk? Because its that wonderful day of the week when we snoopy crafty people's like to wander all over the world, peeking into other crafters workspaces, enabled by the fabulous Julia over at Stamping Ground! Follow the link if you want to see more and, without further ado, here is my workspace this Wednesday:
Kinda boring, huh? :) I know. I was starting a new card. But I did make some pretty stuff since last week...
Fun and colorful card as I played with the Spellbinders dies and then the next set of three came from just 4(3 patterned and 1 of butterflies) pieces of 6x6 paper, plus the white card blanks, of course:
It's hard to tell but there is a shiny red accent(rhinestone?) in the center of each flower. So this is what was left over from the fussy cutting of the butterflies off of one of those 4 pieces mentioned above:
I decided to challenge myself and see if I could make a card with those scraps...yes, I consider this a challenge! :) I usually just scoot the scraps to the side with the hopes that one day they will get used! lol (And this is why I *never* call myself a scrapper! lol)
But I think it turned out fairly well, huh? All the images touching the outside edges of the card are paper and then the inner butterflies were all stamped in coordinating colors. Add a little bling and a sentiment and wahlah! Next are just fun eye candy sorts of pictures...I got into more dying during this last week. Here are the fruits of my labors:


Don't you want to eat them all up?! lol :) Well, I hope everyone is having a fabulous WOYWW and life outside of the internet...there is such a thing, yes? ;)

Wednesday, February 27, 2013

WOYWW #195

So you're wondering what I've been up to this last week? Well, I guess you're only wondering that if you came over from "What's on your workdesk, Wednesday", hosted by the lovely and fabulous Julia at Stamping Ground and if you're completely clueless just follow the link and Julia will clue you in. :) So here is my desk:
I was working on a set of cards and got their backgrounds ready when I decided I didn't really like any of the colors of roses I already had dyed with it so I had to dye some more, there they are wet and here they are finished:
That's from this morning, after they had finished drying. Next is a Thank You card for my grandparents. The main part/image is from a pre-made card that I tore apart and modified. Majorly. I love the card now! And also I now wish I had taken a before picture so you could see how horrid it was before I got my hands on it. lol I put it a larger card blank so I could write plenty and added the ribbon strip to the bottom to tie into the red roses and gold. I don't think you can see in the pic but there are little gold dots on the red ribbon.
And this is one of the 100+ card bases I made awhile back. Added the embellishments and then right before I send it I will add a coordinating sentiment. I used several bases this week and now I would highly recommend taking the time to make yourself a pile of them to have on hand. It seems occasions just POP up! But now I'm ready for them! lol
This week I learned about naked buttons and the magic triangle, making the chalkboard effect style cards, and a few other things that aren't coming to mind now because I've spent more time viewing others cards than making my own this week! There are just some incredibly talented people out there, you know? I know you know because YOU are some of them! :)
Have a lovely week and please do share what you've learned this week, in the comment section, too. :)